
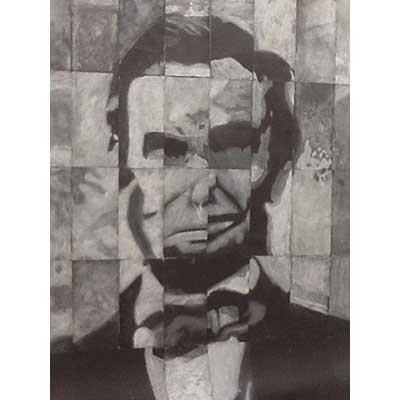
Abraham Lincoln Mosaic

Wow! Is this a fun project.
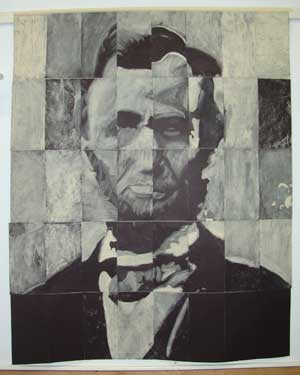
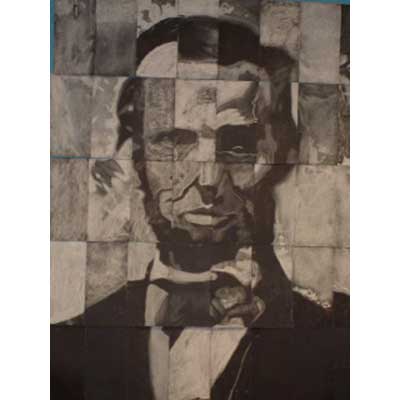
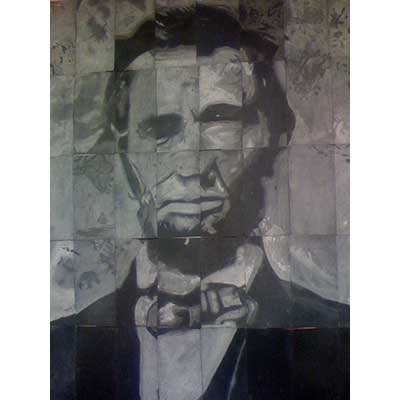
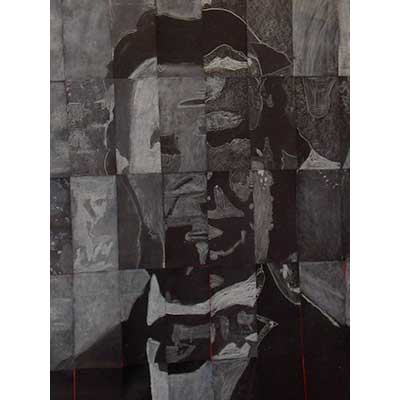
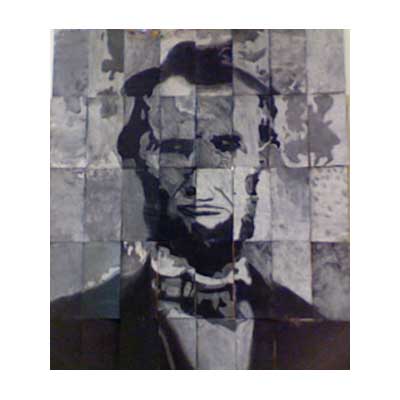
To commemorate Lincoln's birthday, you and your students can make this very cool chalk-on-black-construction-paper mosaic portrait to hang somewhere on your campus. Made from 40 student-created 6" X 12" pieces, the finished size is 4' X 5' and is really quite stunning. As I wrote in the accompanying PDF instruction packet, you have to see it to believe it. (You can see the one I did with a group of fifth graders.)
Try it out and see what you think. If you feel so inclined, send me a digital photo of your finished portrait and I'll add it to the slideshow of portraits found at the bottom of this page.
Challenge: The only difficulty you may experience is trying to find white chalk in an era of whiteboards and smartboards.
Sample Artwork
Using a 1" X 2" master tile, students use white chalk to recreate the image on a 6" X 12" piece of black construction paper.
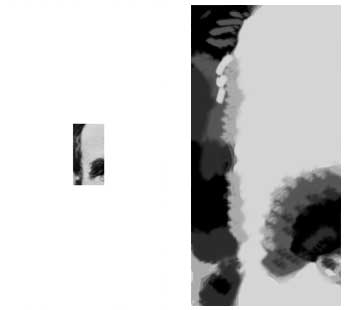
Master tile on left and chalk reproduction on right.
Tricky Part 1
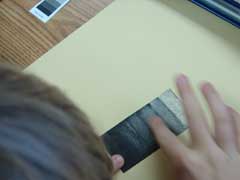
Thinking in reverse. Students normally use pencil and paper when drawing. Thus, they've learned to draw by making things darker. In this project, they leave the darkest areas untouched and "draw" the lighter areas.
Tricky Part 2
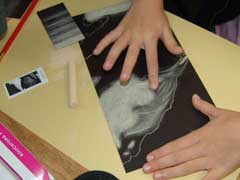
Getting the proportion and scale right. Making a small image larger takes a bit effort at first. You might want to do a sample in front of everyone so that you can talk about proportion and scale. Regardless of the accuracy of their work, the overall effective when all 40 pieces are assembled makes the whole thing work.
![]()
Instruction Packet
The packet contains everything you need except for the paper and chalk. The 1" X 2" master tiles are already numbered for you and are easy to cut out. There's also a set of gray scale tiles so that your students can practice making the various shades of gray they'll be using on the actual mosaic pieces.
Download PDF of Lincoln Mosaic Packet
![]()
Reality 101
Since I just finished doing this project with a friend's class--5th grade--I thought I'd pass along some observations.
White chalk
Couldn't find any. Felt lucky to find some light yellow chalk. The yellow actually looked quite nice. It was a bit more mellow than the white would have been.
Time frames
The first part took about 15 minutes. This is when the students recreated the gray scale tile in order to gain an understanding of the gradations of color from black to white. The 15 minutes also included the time for some quick instructions and the passing out of the material.
Helpful: I gave each student a 12" x 18" sheet of manila drawing paper on which to work. Newspaper would work just as well.
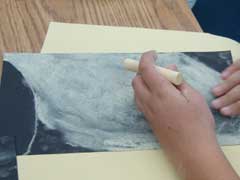
The second part, in which they create their piece of the mosaic, took about 45 minutes. Some students, of course, finished earlier than others. That's just how it goes. I had the early finishers do the tiles that hadn't been done yet.
Writing the tile number on the paper
When they do write the tile number on the back, have your students write the number at the top of the paper. This will make it easier for you to figure out which end of the mosaic piece is the top and which is the bottom. As you can imagine, knowing how the piece is supposed to be oriented is critical to the success of the finished portrait.
Checking the mosaic pieces as they finish
There were a few students who handed me what they thought were finished pieces. I was able to point out areas of the mosaic that still needed attention. This is good to know while they are still set up for work. Finding out later that more work is needed--as it turned out with one piece I had to fix--is not so good.
The portrait assembly process
I did this in the auditorium during recess with the help of about eight students. I placed labels on five tables. The labels denoted the pieces that made up each row.
- 1 - 8
- 9 - 16
- 17 - 24
- 25 - 32
- 33 - 40
I then handed a student a piece of the mosaic. The student read the number on the back, took it to the proper table, and set it face-down. As the mosaic pieces continued to be placed, students began to sort them from left to right. When we were done, each table had eight mosaic pieces that were placed in the proper order from low number on the left to high number on the right.
We were done grouping the pieces just as the recess bell rang and so the students returned to their classroom. I did the taping part myself.
Taping it all together
Starting with the first table, I taped each set of eight pieces together with masking tape. I then I took it up onto the stage and laid it chalk-side down.
After finishing the second row, I took it up onto the stage and taped it to the first row. I kept up this routine until all five rows were joined together. To add a bit of support, I took some masking tape and reinforced some of the perimeter joints.
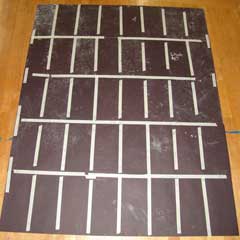
When that was taken care of, I taped the whole thing to wall, and stepped back.
Sweet.
![]()
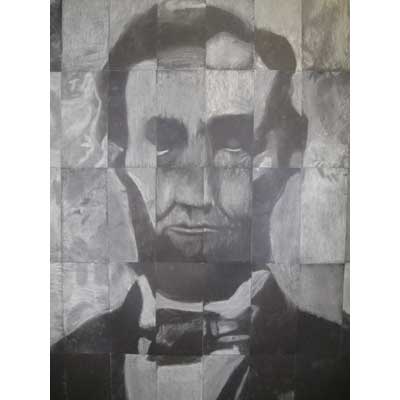
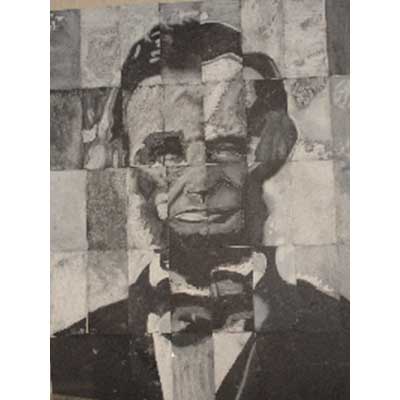
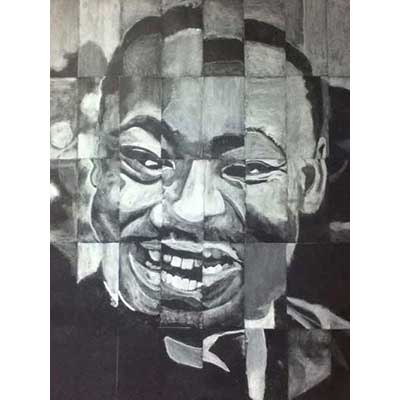
Here's a slideshow of the photos I've received from classrooms who took on the project. [Watch for the bonus portrait at the end.]


![]()
